

How to install a sediment/silt fence
If in doubt – Stop and Shout! Plan and install sediment fences before you start work on your site – not when you realise there’s a problem.
- Use correct sediment fence fabric downslope (or as per manufacture’s instructions)
- Install waratahs or wooden fence posts 2m apart and drive them to a minimum depth of 400mm. Place safety caps on all posts.
- Install wings/returns at either end of the sediment fence projecting upslope at least 500mms (vertical height) to prevent flow bypass.
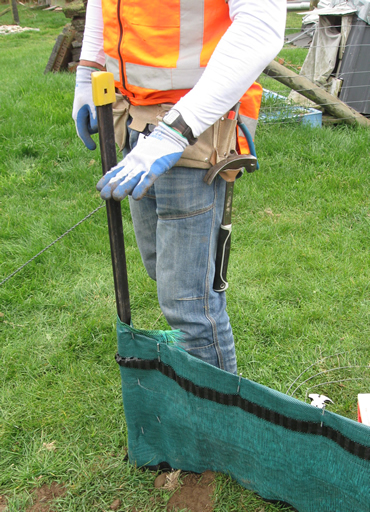
- Dig the trench line a minimum of 200mm deep and 100mm wide upslope of the waratahs.
- Beginning at one end with the first waratah which is a minimum of 400mm from the ground, thread a HT support wire through the waratahs. For extra strength, you can add an a second wire at a height of 150mm above the ground.
- Secure the fabric to the upslope side of posts and support wires. Fasten with wire ties, heavy-gauge wire staples or gang nails. Continue to fasten fabric to wire with wire ties or fastening clips at 150mm intervals.
Once all work has finished on-site,and the site is completely stabilised, ensure the fence
and all materials are removed and disposed of correctly.
Watch silt fence video
Follow us on
![]()